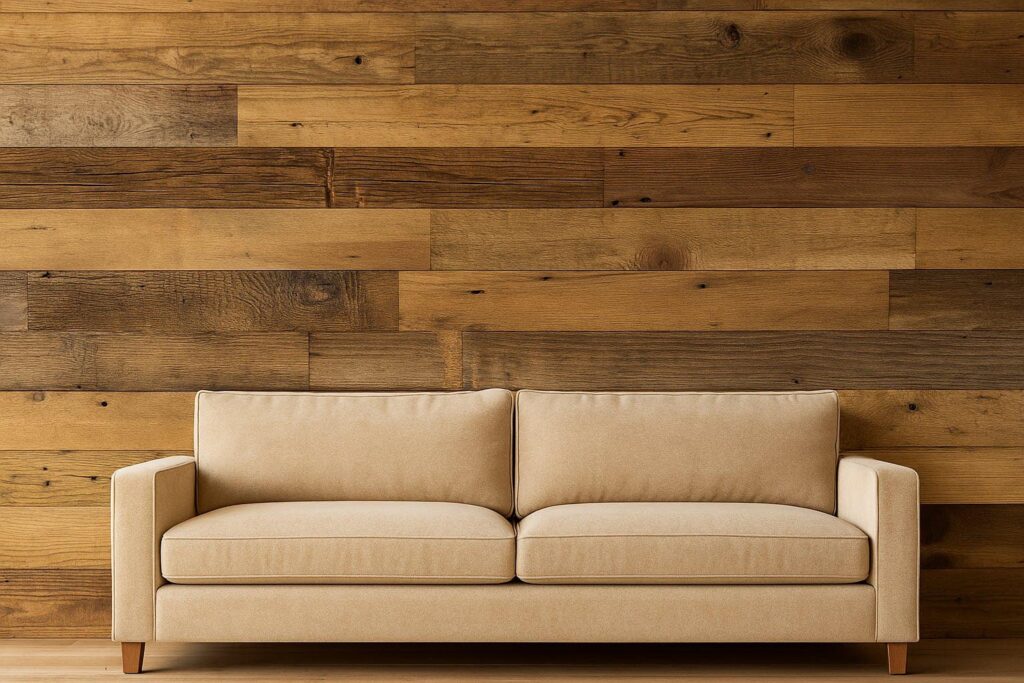
Installing a reclaimed wood accent wall is one of the most impactful home improvements you can make — and it’s a project most DIYers can complete in a single afternoon. In this step-by-step guide, we’ll walk you through everything you need to know to install authentic reclaimed barn wood wall panels, from preparation to the final plank. Whether you’re creating a reclaimed wood accent wall in your living room, bedroom, or office, this guide has you covered.

Why Choose a Reclaimed Wood Accent Wall?
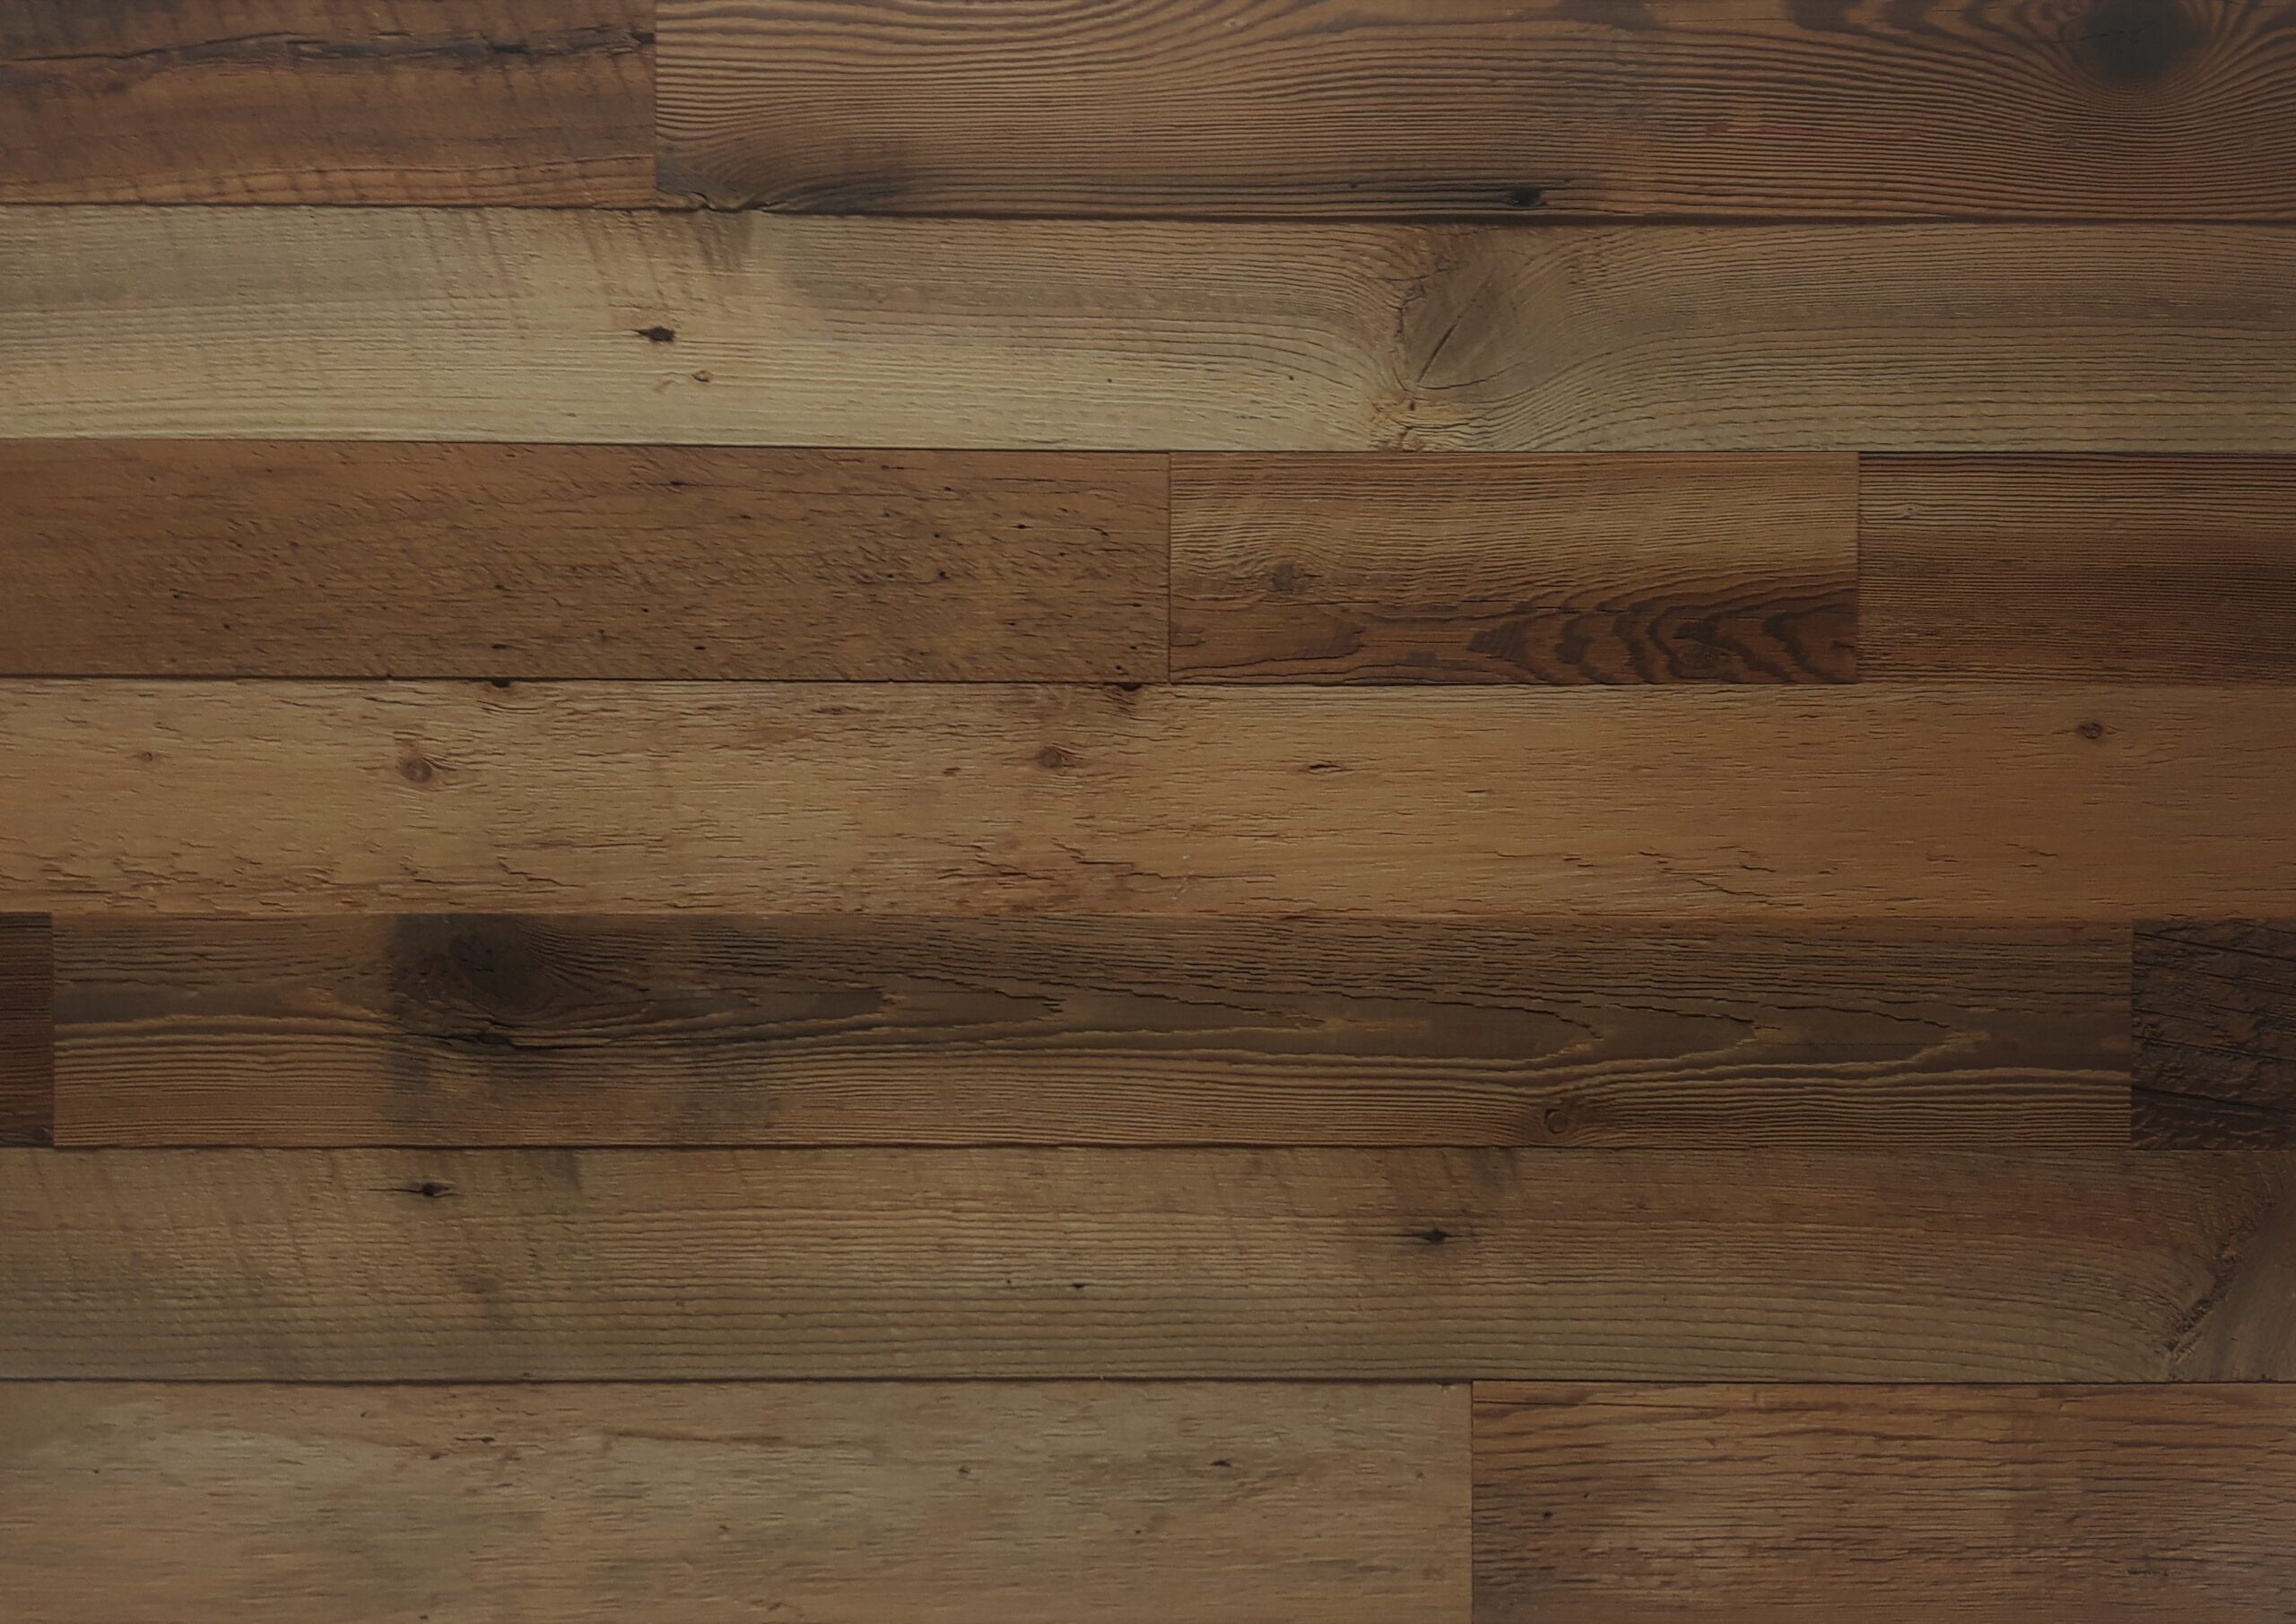
There’s a reason reclaimed barn wood has become one of the most popular accent wall materials in North America. Unlike faux wood panels or peel-and-stick alternatives, authentic reclaimed wood brings something that can’t be manufactured:
- Over 100 years of natural character — every knot, grain pattern, and color variation tells a story
- Old growth density — our Hemlock planks come from barns built when trees grew slowly, producing tighter grain and harder wood than anything commercially available today
- Thicker than the competition — at 0.32″ thick, our planks have real substance and depth that thin veneers can’t match
- Sustainability — you’re giving a second life to wood that would otherwise be demolished and discarded
Our reclaimed wood panels have been featured in homes and businesses across North America — including installations for Gordon Ramsay, the Baltimore Ravens, ESPN, and Starbucks.
What You’ll Need
Required Tools
- Pencil
- Tape measure
- Level
- Miter box with saw (or power miter saw)
- Caulking gun
- Construction adhesive (Liquid Nails Heavy Duty or similar)
- Hot glue gun + glue sticks
Optional Tools
- Jig saw — for cutting around electrical outlets
- Brad nailer / air nailer — speeds up the process
- Table saw — for ripping the final row to width
- Stud finder
Materials
You’ll need enough reclaimed wood wall panels to cover your wall area. Measure the wall’s height and width, calculate the square footage, and add 10-15% for cuts and waste. Our panels come in 20 square foot boxes in either 3.5″ wide or 5.5″ wide planks.
Step 1: Acclimatize Your Wood (72 Hours Before Installation)
This is the most important step — don’t skip it.
Wood expands and contracts with temperature and humidity changes. If you install your reclaimed wood accent wall planks straight from a cold delivery truck into a warm room, they could expand, buckle, or develop gaps once they settle.
- Place the unopened boxes in the room where you’ll install them
- Open the tops of the boxes (or both ends for smaller boxes)
- Remove the bundles but do not cut the plastic wrapping
- Leave them for a minimum of 72 hours
This allows the wood to adjust to your room’s temperature and humidity, minimizing expansion and contraction after installation.
Step 2: Prepare Your Wall
Good preparation is key to a successful reclaimed wood accent wall installation and ensures a lasting bond. Your wall surface should be:
- Clean — remove dust, cobwebs, and debris
- Dry — no moisture issues
- Smooth — heavily textured walls should be scraped or sanded
Prep checklist:
- New drywall? Must be finished and primed first
- Wallpaper? Remove loose sections and prime bare areas
- Remove picture hangers, nails, and protrusions
- Remove electrical outlet and switch cover plates (you’ll reinstall them after)
- Vacuum the backs of the wood planks to remove sawdust — this significantly improves adhesive bond strength
Step 3: Sort and Plan Your Layout
This is where the fun starts. Open everything up and take 10-15 minutes to sort before you glue anything.
Each box contains a variety of plank lengths, colors, and textures — that’s the beauty of authentic reclaimed wood. No two boards are identical.
- Sort by length and color to help plan your layout
- Mix it up — alternating lengths and shades creates the natural, random look that makes reclaimed wood walls so striking
- Stagger end joints — avoid having seams line up between rows (similar to how you’d lay hardwood flooring)
- Set aside any boards you’re less excited about for less visible spots (behind furniture, near the floor)
Some boards will have natural splits and knot holes. These aren’t defects — they’re character marks that add authenticity. Split boards hold fine once glued to the wall. You can cut out knot holes if you prefer a cleaner look.
Step 4: Install Your Reclaimed Wood Wall Panels Bottom to Top
We recommend the dual-adhesive method: construction adhesive for permanent bonding plus hot glue for instant grab. This means you don’t have to hold each board in place while the adhesive cures.
Applying Adhesive
- Cut the tip of your adhesive tube to create a 1/4″ opening
- Apply adhesive in a wavy S-pattern across the back of the board — edge to edge for full coverage
- Add 4-6 dots of hot glue at the corners and center
The First Row
The first row is the most important. Every row above follows this line, so take your time.
- Start at the bottom of the wall
- Apply adhesive and hot glue to the first board
- Press it firmly to the wall — hold for 3-5 seconds
- Use a level to make sure it’s perfectly straight
- Continue across the first row
Successive Rows
- Apply adhesive + hot glue to each plank
- Place on the wall and give it a slight twisting motion as you press — this spreads the adhesive for better contact
- Push the board side to side about half an inch, then up and down half an inch
- Use a few brad nails if any boards need extra hold
- Cut the final (top) row to fit
Working Around Electrical Outlets
Don’t worry — this is easier than it looks.
- Turn off power at the breaker box (safety first!)
- Loosen the screws holding the outlet or switch to the wall — just enough for the wood to slide behind the device
- Use a jig saw to cut a notch in the board for the screw
- Glue the board to the wall
- Re-tighten screws (you may need longer screws — available at any hardware store)
- Reinstall the cover plate
Finishing Corners and Edges
Outside corners: Run the planks right to the edge, then cover the corner joint with matching outside corner trim pieces for a clean, professional finish.
Where the wood stops mid-wall: Leave a half-inch gap and cover the edge with flat wall trim pieces.
How Much Reclaimed Wood Do I Need for an Accent Wall?
Calculating how much reclaimed wood you need for your accent wall is straightforward:
- Measure your wall: height x width = square footage
- Subtract any large openings (windows, doors)
- Add 10-15% extra for cuts, corners, and waste
- Divide by 20 (each box covers 20 sq ft)
Example: An 8 ft x 10 ft accent wall = 80 sq ft. Add 15% = 92 sq ft. That’s 5 boxes.
Our reclaimed wood wall panels are available in two widths:
- 3.5″ wide planks — more lines, more detail, more rustic character
- 5.5″ wide planks — fewer lines, bolder look, faster installation
Special Note: Grey and Weathered Wood
Our weathered grey boards are unfinished and unsealed — the natural grey patina is the look. If you decide to seal them, test on a few sample pieces first. All sealers will darken grey wood considerably, and the result can look very different from what you expect.
Pro Tips for Installing Reclaimed Wood Wall Panels
- Work with a partner — one person applies adhesive while the other places boards. You’ll go twice as fast.
- Keep a damp cloth nearby — wipe up any adhesive squeeze-out immediately
- Don’t rush the first row — the time you spend getting row one level pays off for every row after
- Mix planks from different boxes — this ensures the best color distribution across your wall
- Step back often — check your pattern from across the room to make sure lengths and colors are distributed evenly
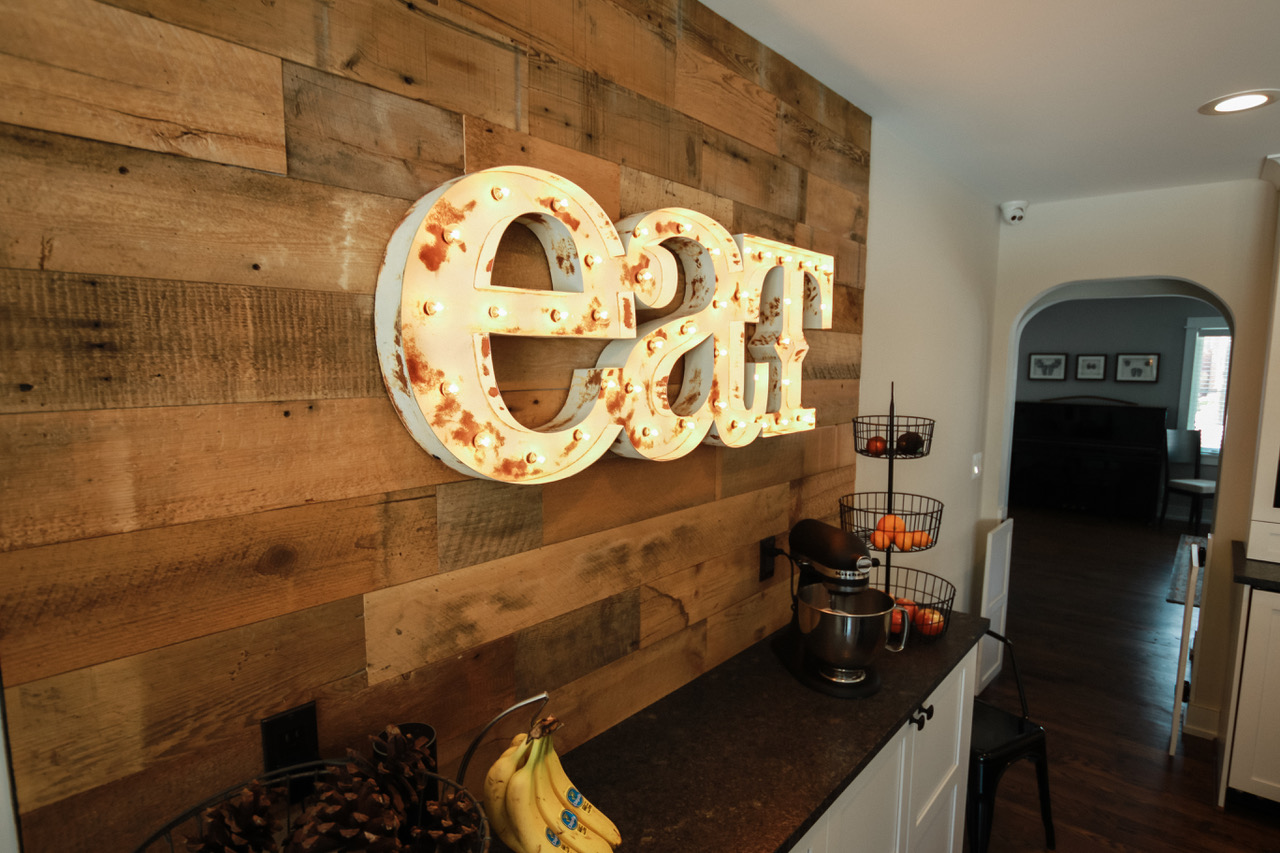
Want to see a real installation in action? Check out our post on how we installed a reclaimed wood feature wall in our office in just a few hours.
Average Installation Time
For a standard 8 ft x 10 ft accent wall, most DIYers complete their reclaimed wood accent wall in 3-5 hours (not including the 72-hour acclimatization period). Add time for cutting around outlets and finishing edges.
Ready to Install Your Reclaimed Wood Accent Wall?
Every plank in our collection comes from barns over 100 years old, sourced from Eastern North America. The wood is kiln-dried, de-nailed, cleaned, and precision-machined to a uniform 0.32″ thickness — ready to install right out of the box.
Browse our reclaimed wood wall panels:
Questions? Email us at [email protected]. We’d love to see your finished wall — send us photos!