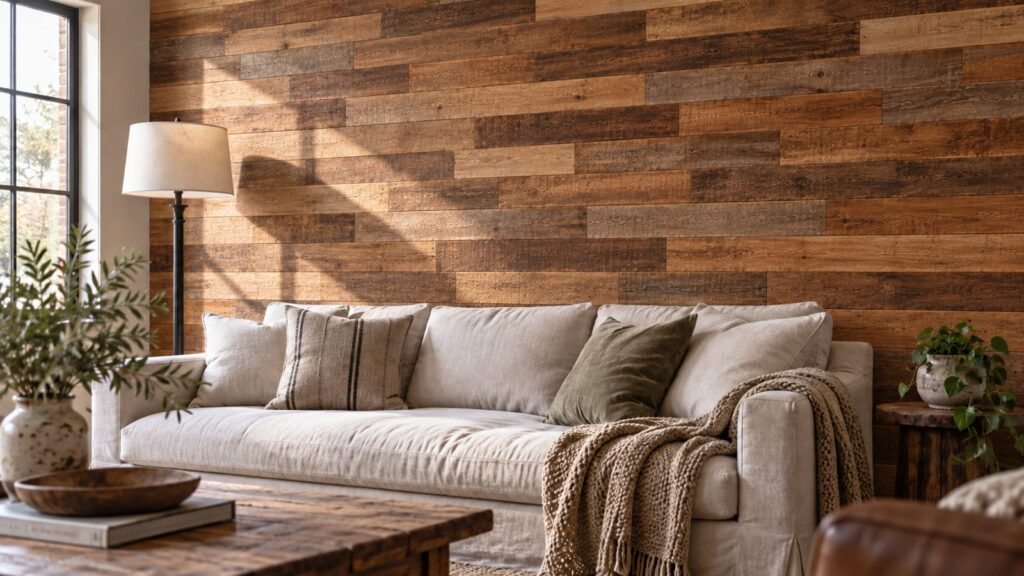
The rule for staggering wood planks on a wall is simple: keep every vertical seam at least 6 inches away from the seams in the row above and the row below, and don’t let the offsets settle into a repeating rhythm. Hit those two targets and the wall reads as one continuous surface instead of a grid of joints. Miss them and even beautiful wood ends up looking like cheap paneling.
This guide covers the layout rule in detail, plus the mistakes that wreck more accent walls than any tool ever has. It’s written around real reclaimed planks in 3.5 inch and 5.5 inch widths with random lengths up to 48 inches, but the logic works for any plank wall.
The one rule that makes a staggered wall work
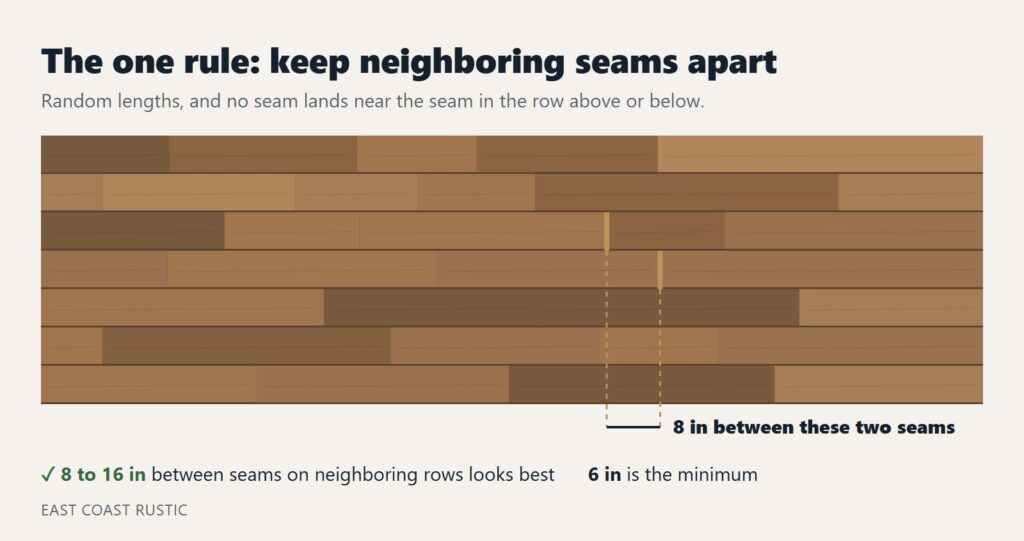
Call it brick pattern or random stagger, the goal is the same: no seam should stack on or near another seam. Six inches of offset between rows is the floor. Eight to sixteen inches looks better. When two joints land within an inch or two of each other on neighboring rows, your eye snaps straight to them and the illusion of a solid wood wall falls apart.
The second half of the rule gets less attention: avoid repetition. If every row starts exactly half a board over from the one below, you get a perfect brick grid, and a perfect grid looks manufactured. Old barns weren’t sided that way. Scatter your starting lengths so no diagonal line and no column of seams shows up anywhere on the wall.
Random lengths do most of this work for you
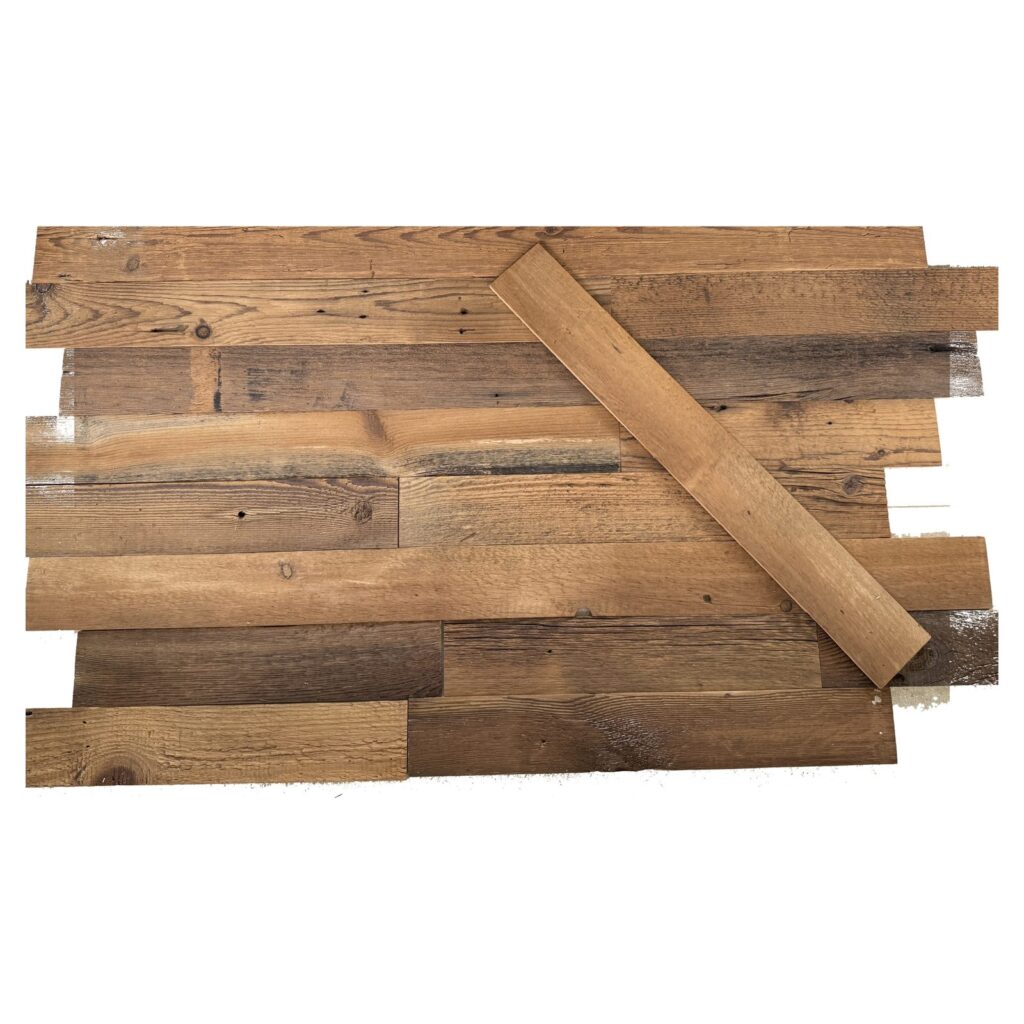
Uniform planks force you to create every stagger with a saw. You measure and cut, and a third of the material becomes offcuts. With reclaimed barn wood planks that ship in random lengths capped at 48 inches, the stagger mostly builds itself. Pull boards from the box in whatever order they come, run them end to end, and the seams land in different spots row after row. You only cut the last board in each row to fit the wall.
The coverage math stays simple too. Our boxes cover 20 square feet of wall at roughly 3/8 inch thick, priced at $10.75 per square foot ($215 per box) with free US shipping on orders over $200. A 12 by 8 foot wall is 96 square feet; order six boxes and you’ll have comfortable cutting room plus spare boards for the tricky spots around outlets.
Step-by-step stagger layout
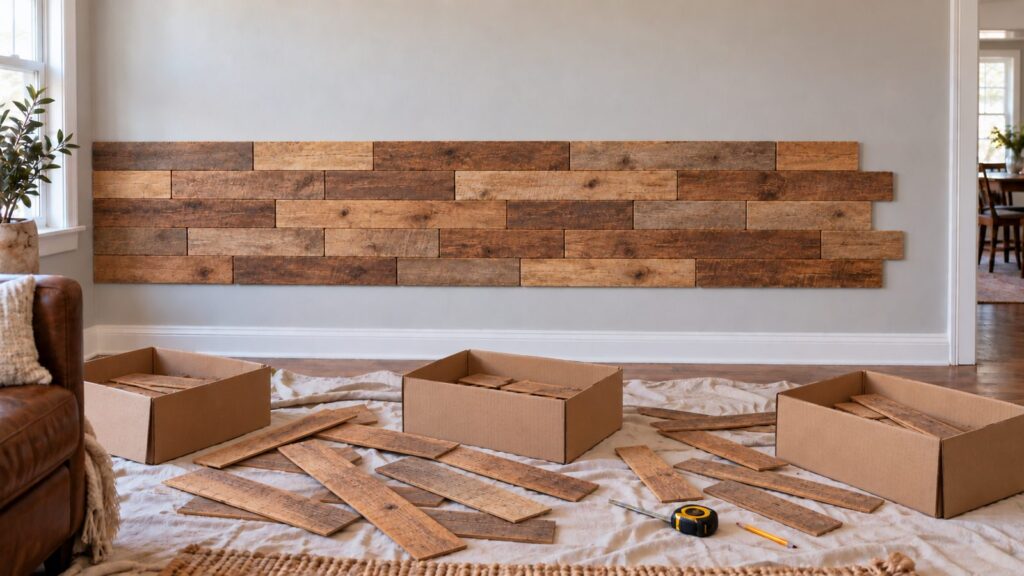
- Snap a level line for row one. Floors are almost never level, so don’t trust the baseboard. Start from a chalk line and shim the first row to it.
- Open every box and mix the boards. Work from all boxes at once so lengths and tones spread across the whole wall instead of clustering.
- Run row one full-length. Lay boards end to end and cut only the final board to meet the corner.
- Start row two with an offcut. If the cut end from row one gives you at least 6 inches of offset, it becomes the first board of the next row. If not, grab a naturally short board instead. Waste stays close to zero.
- Glue, then tack. Construction adhesive is what actually holds the wall. Shoot a brad near each board end and one in the middle to clamp it while the glue cures. Brads can go anywhere on the board; you never need to find a stud.
- Step back every three or four rows. Check from across the room for stacked seams and creeping diagonals while you can still adjust the next row.
For the full install process, from wall prep through cutting around outlets, see our step-by-step installation guide.
The mistakes that ruin the pattern
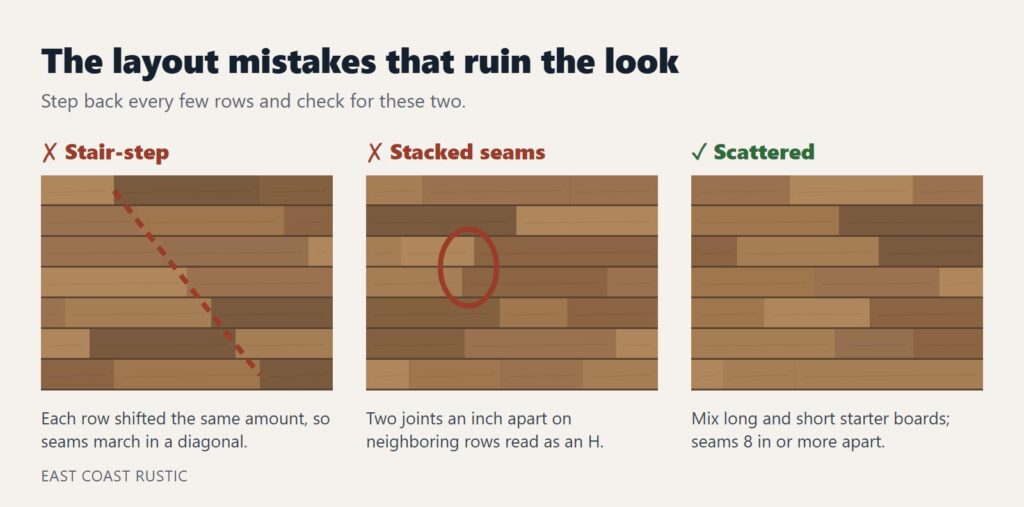
Here’s the trap almost everyone falls into: the stair-step. It happens when you shift each row over by a similar amount in the same direction, and the seams form a diagonal staircase marching across the wall. Once you see it, you can’t unsee it. Break it by alternating long and short starter boards instead of shifting steadily one way.
Stacked seams are the second killer. Two joints within a couple inches of each other on adjacent rows read as an H shape from across the room. This is the one to catch during your step-back checks, because fixing it two rows later means pulling glued boards.
Tone clustering is subtler. Our brown line mixes warm walnut and honey boards, and the grey line runs from charcoal to silver. If you install straight out of one box at a time, similar tones bunch up in patches. Mixing all boxes before you start spreads the color the way a century of weathering did on the barn.
Pick one color line per wall. Brown and grey each carry a room on their own, and blending them in a single install isn’t a look we sell.
These rules aren’t theory. We’ve shipped over 1,100 orders of this wood, and the installs done for Gordon Ramsay and the Baltimore Ravens followed the same stagger principles on this page.
Frequently asked questions
How much should you stagger wood planks on a wall?
Keep vertical seams at least 6 inches apart between neighboring rows, and aim for 8 to 16 inches where you can. Avoid repeating the same offset row after row, since a fixed rhythm creates a visible grid.
Do the seams need to land on studs?
No. Construction adhesive carries the weight of 3/8 inch planks, and brad nails just hold boards while the glue cures. Shoot brads wherever the board needs pressure and skip the stud finder entirely.
Do I have to cut every plank to get a staggered look?
Not with random-length boards. Since planks arrive in mixed lengths up to 48 inches, you typically cut one board per row, the last one. Uniform-length products make you cut constantly to fake the same effect.
What stagger pattern looks most natural?
A random stagger beats a strict half-brick offset. Strict brick spacing looks machine-made, while varied offsets match how barn siding actually aged. The only hard rules are the 6 inch minimum and no repeating diagonal.
Related reading
- How to Install a Reclaimed Wood Accent Wall (Step-by-Step Guide)
- Reclaimed Wood Accent Wall Cost
- Reclaimed Wood Accent Wall Ideas for Every Room
- DIY Walls: Start Here
Ready to see the wood in person?
Every wall in this guide starts with real planks cut from barns that stood for more than a century. Browse the brown 3.5 inch planks or the grey 5.5 inch line, priced per square foot in 20 square foot boxes, and your stagger pattern will take care of itself.