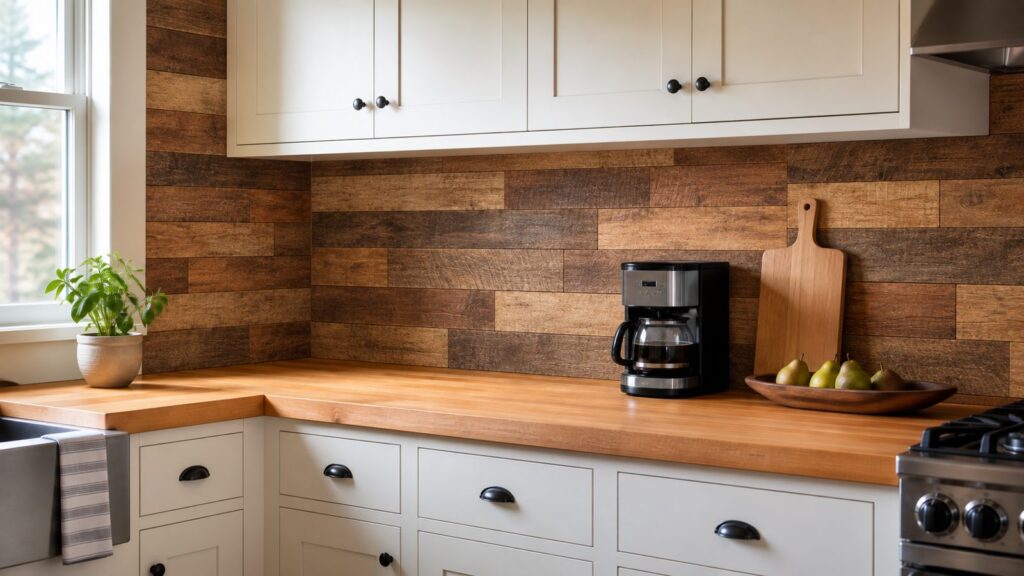
A wood backsplash holds up fine in a real working kitchen as long as you do two things: seal it properly and keep it away from open burners. Skip either one and you’ll be sanding out water stains by spring. This guide covers where wood makes sense in a kitchen, which planks to use, how to seal them, and what the whole project costs.
Where a Wood Backsplash Works (and Where It Doesn’t)
The classic backsplash zone is the 18 inches of wall between your countertop and upper cabinets. Wood works beautifully across almost all of it: behind prep counters, a coffee station, a bar area, or run floor to ceiling on an open wall for a bigger statement.
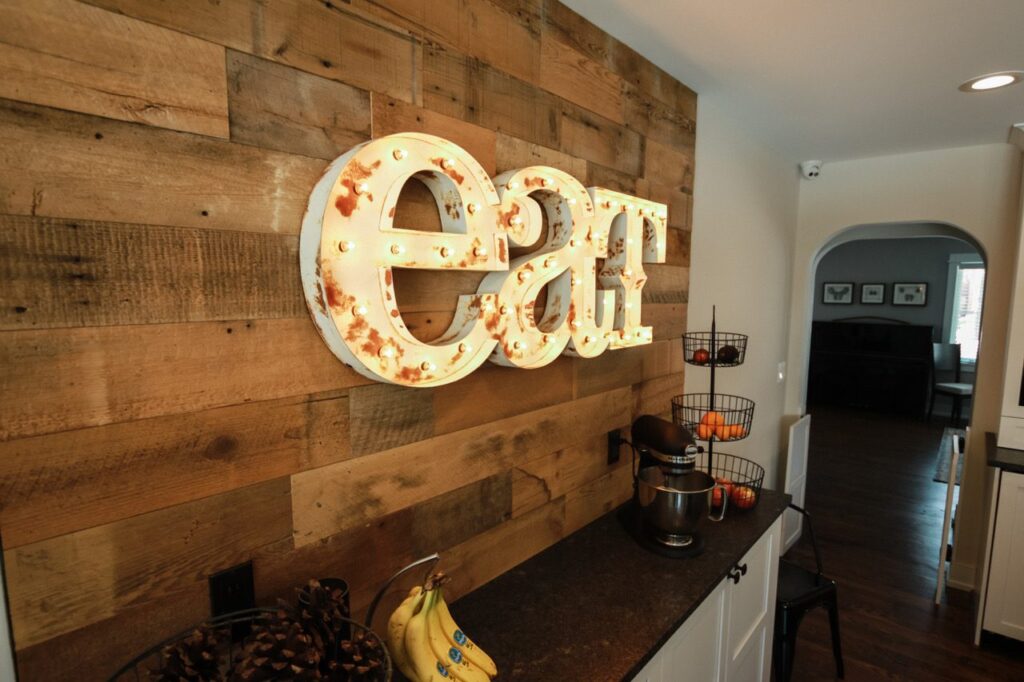
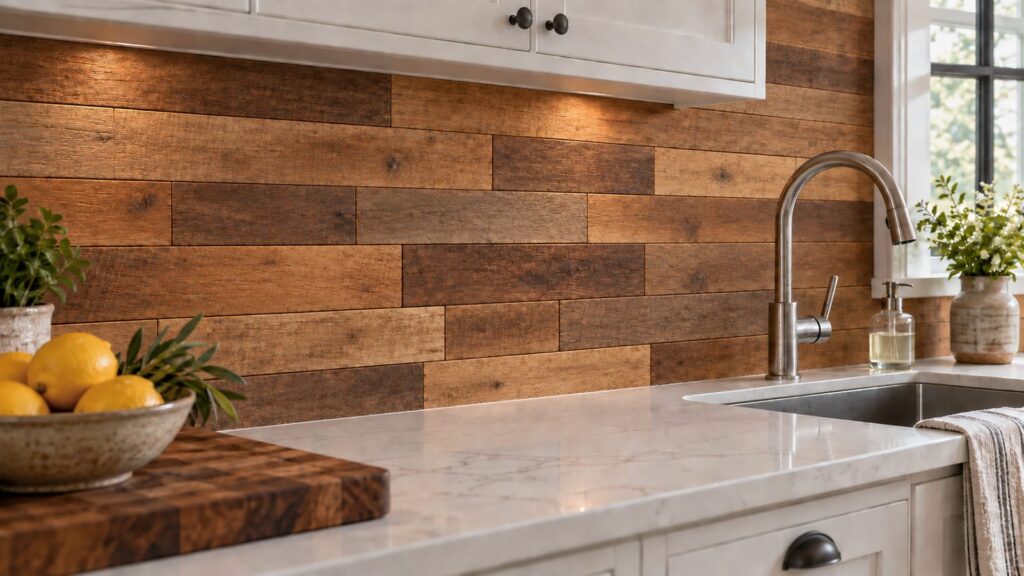
Two spots need a plan. Directly behind the sink faucet, sealed wood handles daily splashes without trouble, but you’ll want a bead of clear silicone where the boards meet the counter so water can’t wick in from below. Directly behind the range, don’t use wood at all. Put tile or a stainless panel in the span behind the burners and run wood on either side. Designers do this two-material combination on purpose because the contrast looks intentional, not like a compromise.
Everywhere else, wood is fair game.
Use Real Planks, Not Thin Veneer
Here’s the trap with the thin stick-on veneer sold for kitchen walls: a kitchen produces steam and airborne grease every single day, and adhesive-backed veneer is the worst possible material to put in front of it. Heat softens the glue, moisture works under the edges, and within a year corners start curling off the wall.
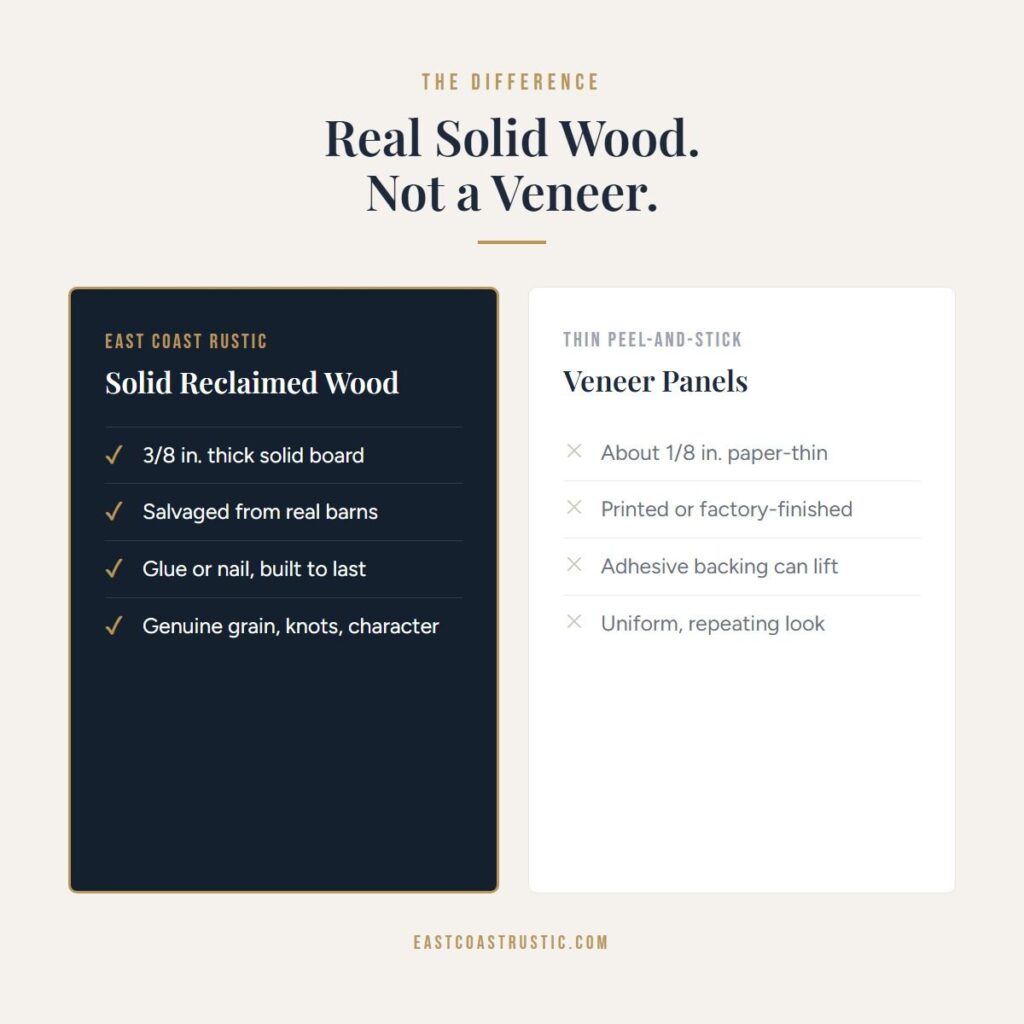
A backsplash needs real wood with real thickness. Our reclaimed wood backsplash planks are about 3/8 inch thick, cut from barns that stood for 100+ years. They come in 3.5 inch and 5.5 inch widths in random lengths up to 48 inches, which gives you the staggered, brick-pattern joints that make a wood wall look hand built instead of factory made.
Color is a genuine choice here, not an afterthought. The brown line mixes warm walnut, honey, and tan boards and suits kitchens with cream cabinets, butcher block, or black hardware. The grey line runs charcoal to silver and looks sharp against white shaker cabinets and marble-look quartz. Pick one line for the whole run; the wood carries enough natural variation on its own.
Sealing Is the Whole Job
An unsealed wood backsplash will stain. A sealed one shrugs off tomato sauce.
Use a water-based polyurethane in matte or satin. It goes on milky, dries clear, and won’t yellow the wood or bury the patina under gloss. Three coats is the right number for a splash zone. If you can, seal the boards before you install them, laid flat across sawhorses, so the finish gets the edges and you’re not brushing poly over your countertop. Reclaimed wood drinks up the first coat, so don’t panic when it disappears into the grain.
After install, caulk the counter seam and you’re done. Maintenance is a fresh coat every few years in the zones that see the most water, which takes about twenty minutes.
Heat Clearance and the Stove Question
Wood is a combustible material, so the span directly behind a gas cooktop belongs to tile or metal, full stop. Your range manual lists its own clearance requirements to combustible surfaces, and that document wins over any blog post, including this one. As a general rule of thumb, keeping wood at least 18 inches away from open burners is the common practice; with a standard 30 inch range, that usually means wood resumes right at the edge of the adjacent cabinets.
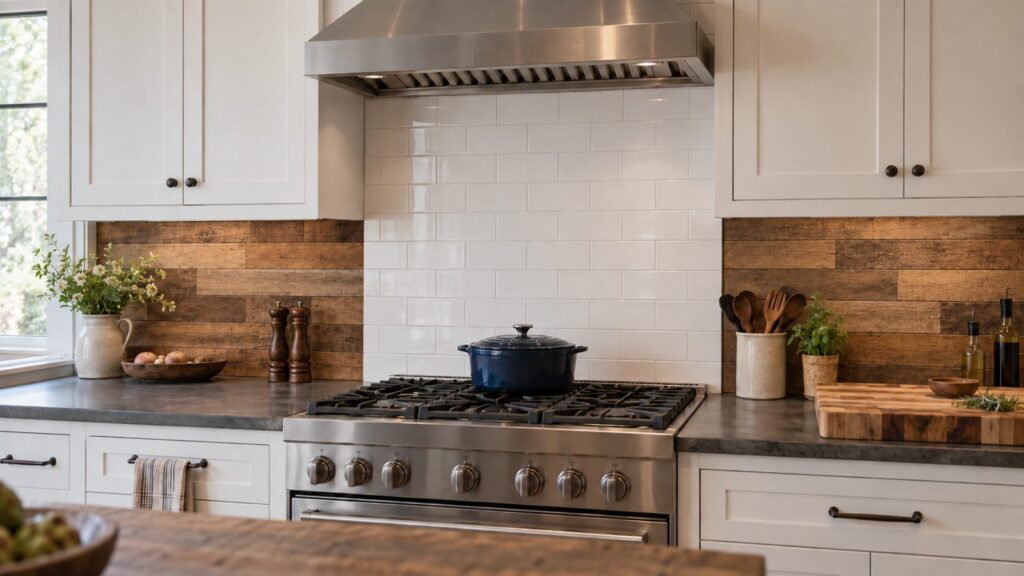
Electric and induction cooktops throw far less heat at the wall, but the tile-behind-the-range approach still makes sense there for cleanup alone, since that’s where the grease lands.
What It Costs and How Much to Buy
Our reclaimed planks run $10.75 per square foot and ship in 20 square foot boxes at $215. Backsplash math is simple: measure the linear feet of counter you’re covering and multiply by 1.5 (the standard 18 inch height). A 12 foot run of counter is 18 square feet; add 10% for cuts and one box covers it. An L-shaped kitchen or a section run up to the ceiling usually takes two boxes at $430. Shipping is free on orders over $200 to the lower 48, so a backsplash order ships free.

Installation is an afternoon with construction adhesive and an 18-gauge brad nailer, plus a jigsaw for outlet cutouts. It’s the same process as an accent wall, just at counter height, and we’ve walked over 1,100 orders’ worth of customers through it. The same boards have gone into a Gordon Ramsay home makeover and Starbucks locations, and none of those installs got special wood. It all comes out of the same barns.
Frequently asked questions
Is a wood backsplash sanitary?
Yes, once it’s sealed. Three coats of water-based polyurethane give you a wipeable surface that doesn’t absorb food splatter. Clean it with a damp cloth and mild dish soap, the same way you’d wipe a sealed wood table.
Can you put wood directly behind a stove?
No. Wood is combustible, so the span directly behind the burners should be tile or metal. Check your range manufacturer’s clearance requirements and keep wood at least 18 inches from open flames. Running wood on either side of a tiled range section is the standard approach.
How do you clean a wood backsplash?
Dust it dry and wipe spills with a damp cloth as they happen. Skip abrasive scrubbers and harsh degreasers, which dull the finish. If a high-splash zone starts looking tired after a few years, a light recoat of polyurethane brings it back.
How much does a wood backsplash cost?
Using our reclaimed barn wood at $10.75 per square foot, a typical single-counter backsplash needs one 20 square foot box at $215, and larger L-shaped kitchens need two. Sealer and adhesive add roughly $40, and shipping is free on orders over $200.
Related reading
- Reclaimed Wood Kitchen Ideas: Walls, Backsplashes and More
- How to Install a Reclaimed Wood Accent Wall (Step-by-Step Guide)
- What a Reclaimed Wood Accent Wall Costs
- DIY Reclaimed Wood Walls
Ready to see the wood in person?
The fastest way to know if reclaimed wood belongs in your kitchen is to get real boards in your hands. Order our 3.5 inch brown reclaimed barn wood planks, priced per square foot in 20 square foot boxes, and see the century-old grain up close before your next kitchen project.